Start Your Repair Shipment
The steps below were designed to make your repairs quick and hassle-free.
Best Practices When Shipping Devices
We aim for a two-week turnaround from the day we receive your devices. Here’s how to keep things smooth and on schedule:

BATCH AND FILL BOXES
Fill each box to capacity. For Chromebooks/iPads, ship in groups of 5+ and only send smaller batches if urgent.

SHARE LOANER QTY
Add your loaner count in your Rocket Service Profile to help us better manage expectations and turnaround time.

ALWAYS SHIP GROUND
Lithium batteries are restricted from air shipments, so ground is the only safe and compliant option.
How to Prepare Your Devices for Shipping
Log into Rocket
Your free asset management system is ready to go! If you run into any issues, contact your Relationship Manager.
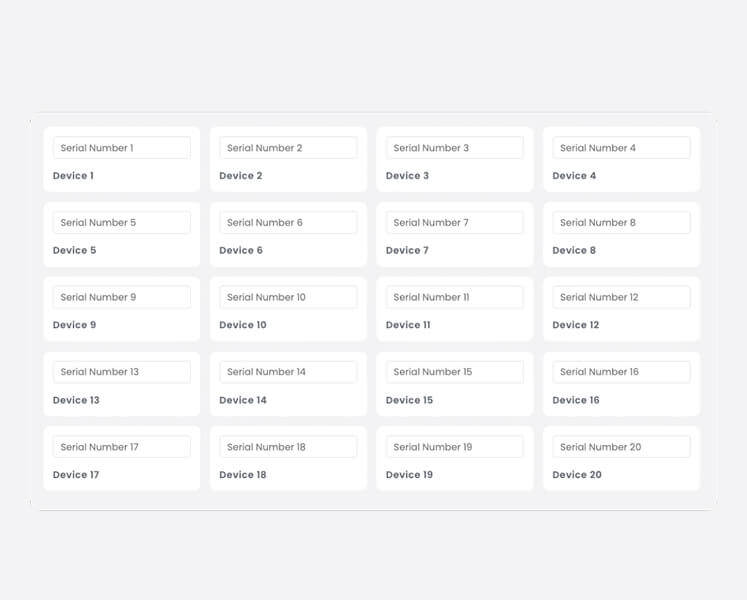
Add Your Devices
- <10 Devices: If you only have a couple, you can add them in the Devices/Users tab or Mass Ticket / Device Creation tab under Repairs.
- 10+ Devices: If you have several devices, you can import the CSV in Import/Export.
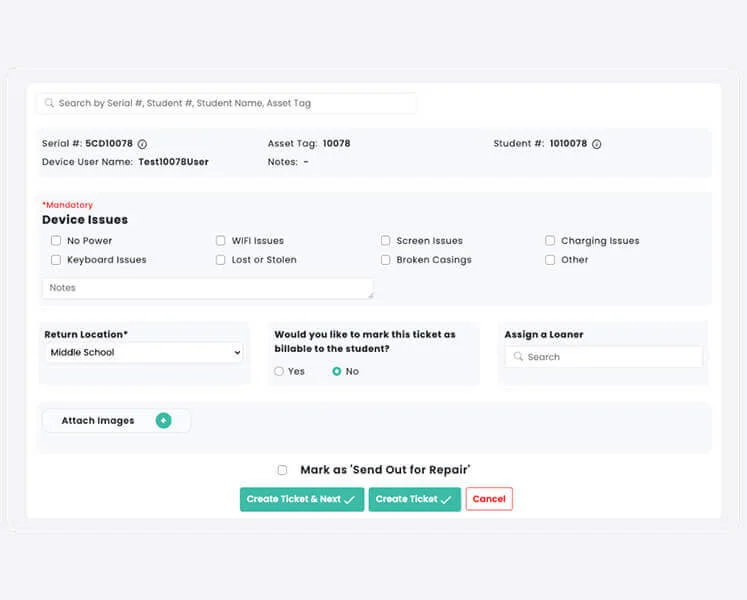
Create Repair Tickets
- <10 Tickets: Go to Repairs → Mass Ticket/Device Creation, or create tickets individually using the Create Ticket button in the upper-right corner of any screen.
- >10 Tickets: If you have several tickets, you can import the CSV in Import/Export.
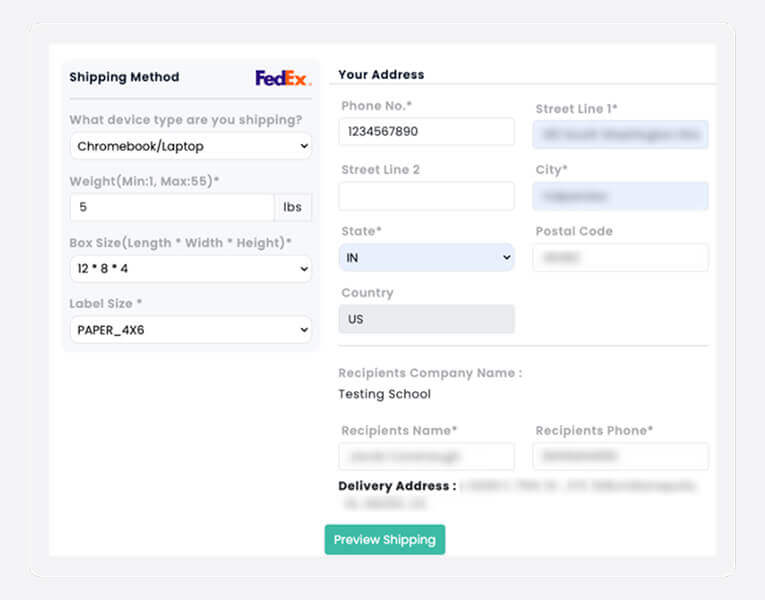
Generate a Shipping Label
- Navigate to Repairs → Ship Devices.
- Select the open tickets you’d like to ship.
- Choose Create Batch in the top right-hand-corner and select Ship Devices.
- Select the device you’re shipping, along with the box weight, box size, and label size. Then, enter your delivery address.
- Click Preview Shipping, and if everything looks correct, select Create Shipping.
- Rocket will generate your free shipping label for you to print, and we’ll save your return address for next time.
Need help scheduling a FedEx pickup?
Email your Location Manager and they can help assist.
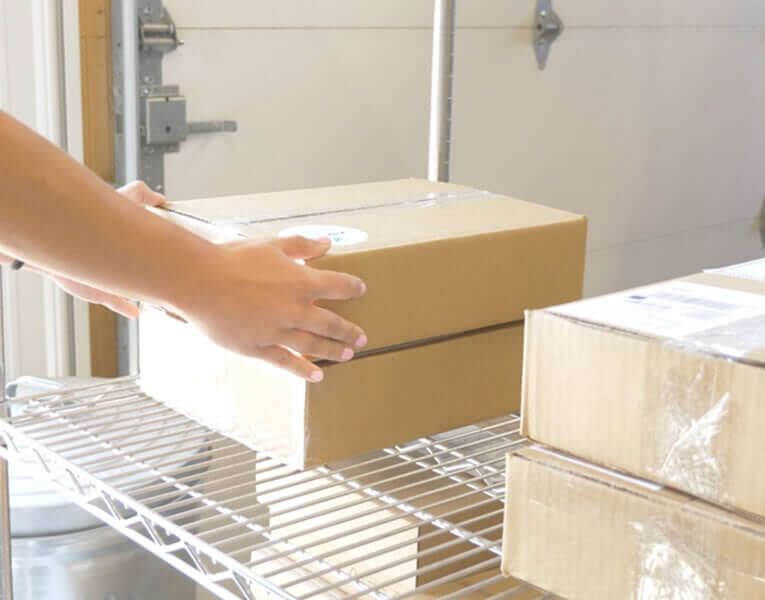
Pack It Up and Ship It Out
Follow our Shipping Instructions below to safely package your devices. Attach your free label, and you’re done!
Need shipping supplies for your first batch?
Contact your Relationship Manager or Location Manager to have some shipped to you.
ChromeBook Shipping Guidelines
Use the chart below to box your Chromebooks. Please remove any cases before packing. (These estimates account for bubble sleeves and cushioning.)
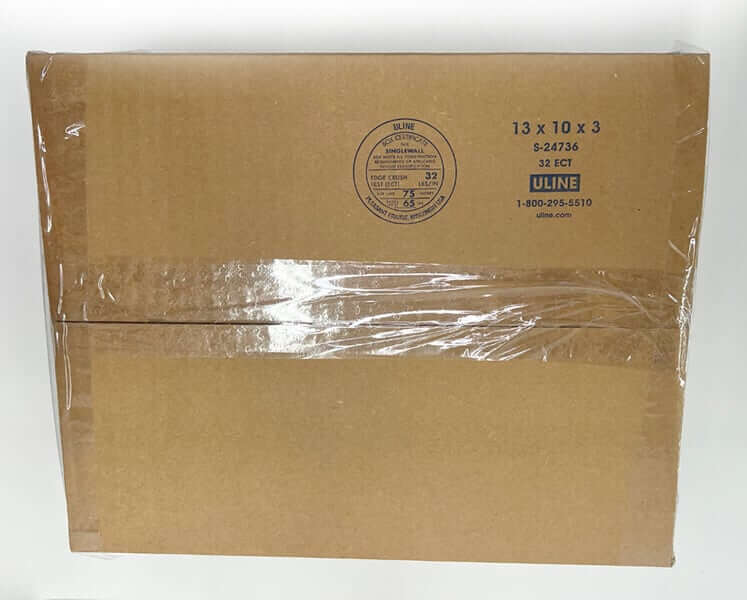
Prepare the Box
- Assemble your box using an H-pattern with tape:
- 3 strips across the center seam
- 1 strip along each edge
- Trim or fold any excess tape neatly.
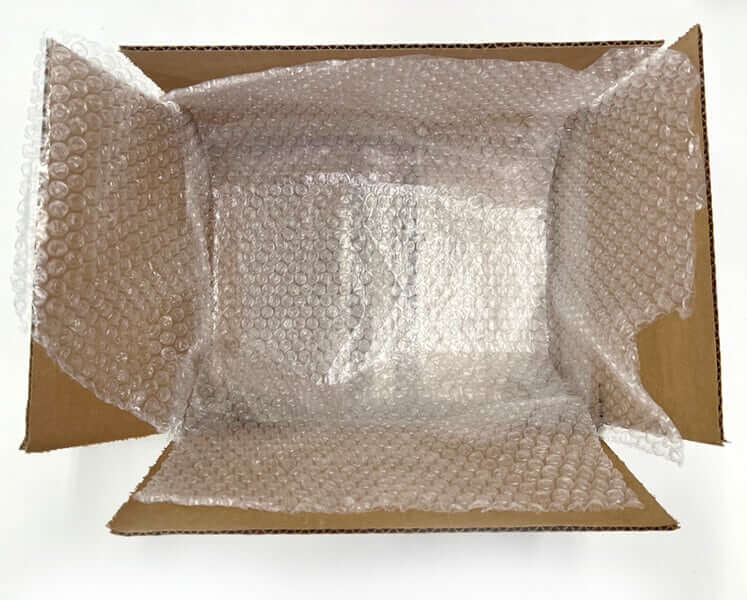
Add Bottom Padding
- Place two long pieces of bubble wrap across the bottom of the box.
- Add two small squares of bubble wrap on top for added cushion.
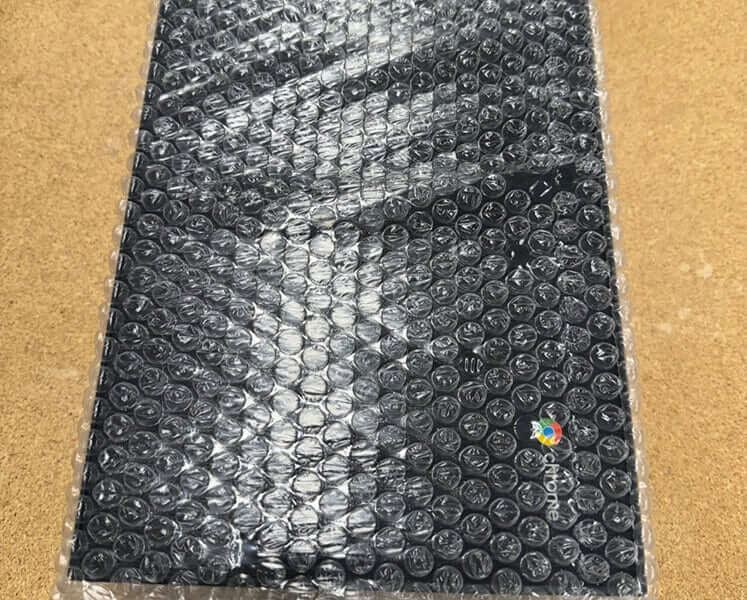
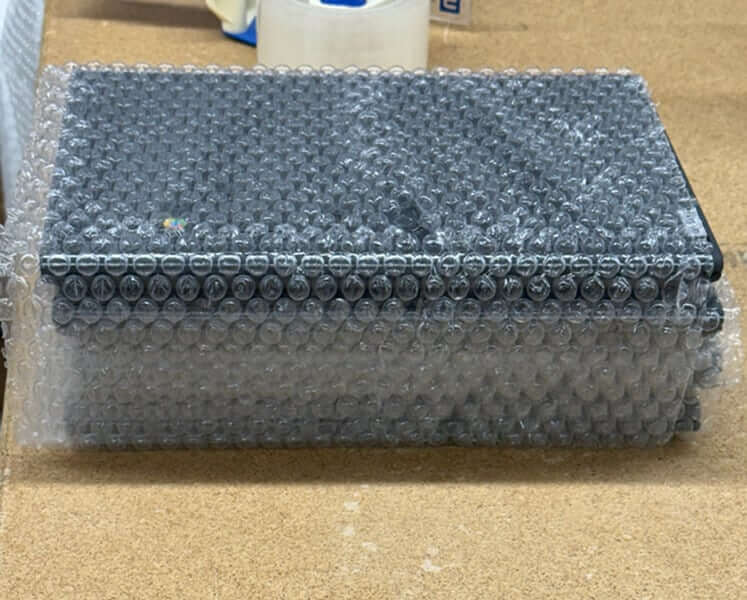
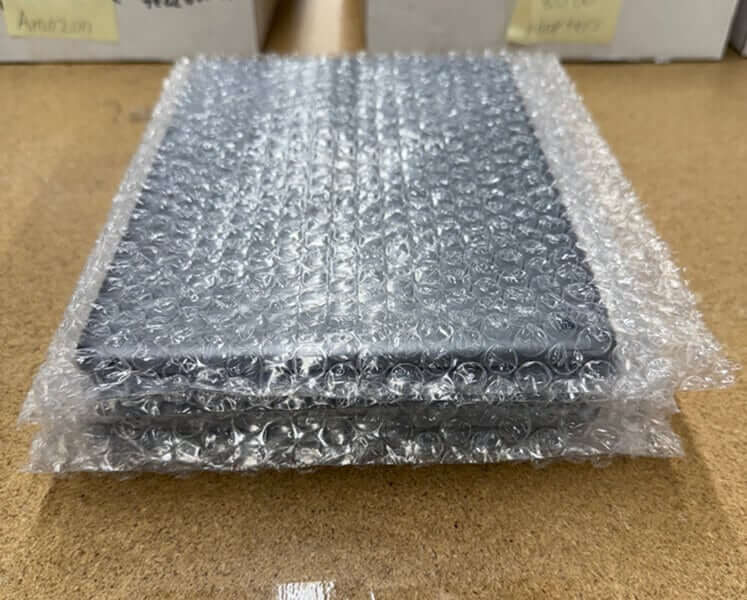
Sleeve and Stack the Chromebooks
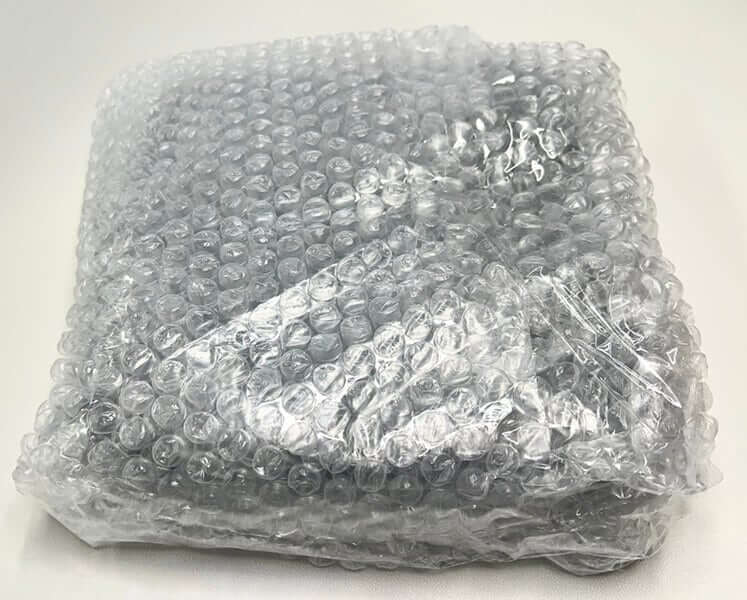
- Place each Chromebook in a bubble sleeve.
- Stack them alternating directions (top to bottom, bottom to top) to help prevent tilting or sliding in transit.
Secure the Stack and Place in Box
- Fold the bubble wrap from the bottom over and around the Chromebooks.
- Add extra bubble wrap around the sides and top to prevent movement.
- Gently shake the box — if the devices shift, add more padding.
Add Final Layer and Close the Box
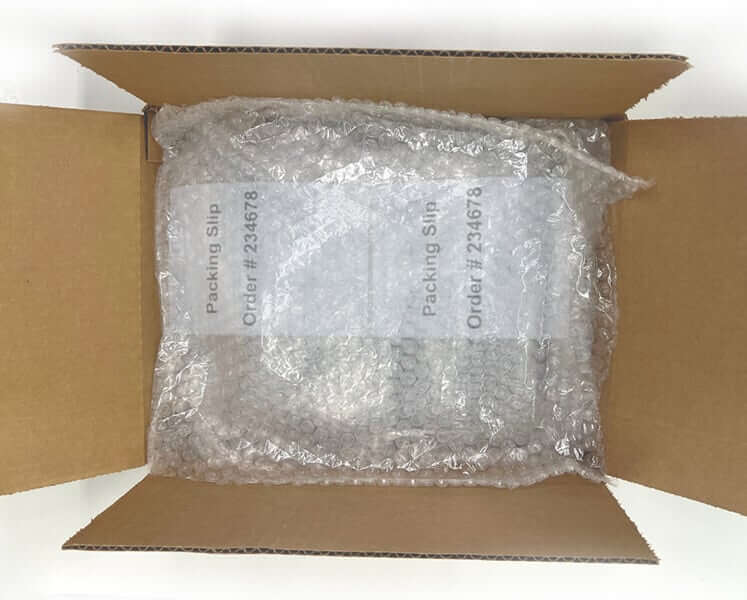
- Place your packing list inside the box
- Add a final layer of bubble wrap on top.
- Don’t overpack — if the box is hard to close, reduce the padding slightly to avoid screen pressure.
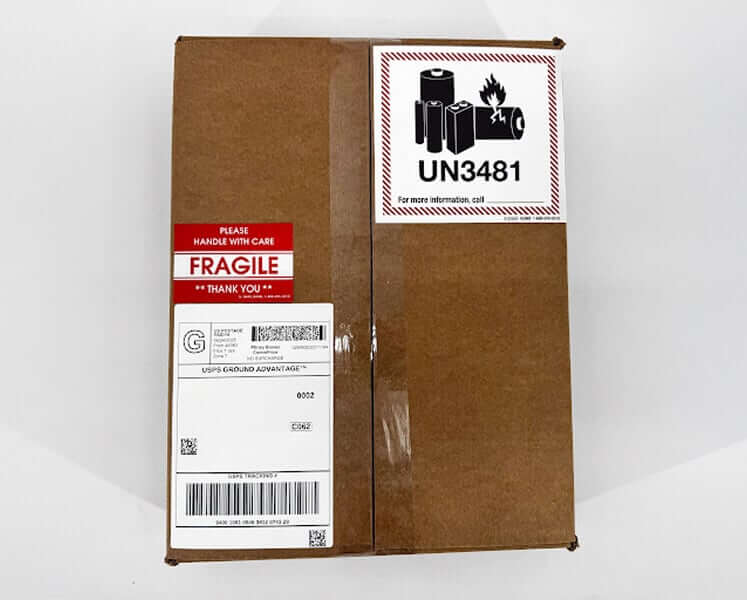
Seal and Label
- Tape the box closed using the same H-pattern as the bottom.
- Avoid excessive tape on the edges — keep the box tidy and professional.
- Attach your shipping label, fragile sticker, and battery warning sticker to the outside.
iPad Shipping Guidelines
Use the chart below to box your iPads. Please remove any cases before packing. (These estimates account for bubble sleeves and cushioning)
Prepare the Box
- Assemble your shipping box using an H-pattern with packing tape:
- 3 strips across the center seam
- 1 strip along each edge
- Trim or neatly fold any excess tape for a clean, secure finish
Add Bottom Padding
- Lay two long pieces of bubble wrap across the bottom of the box.
- Add two small squares of bubble wrap on top for extra cushion.
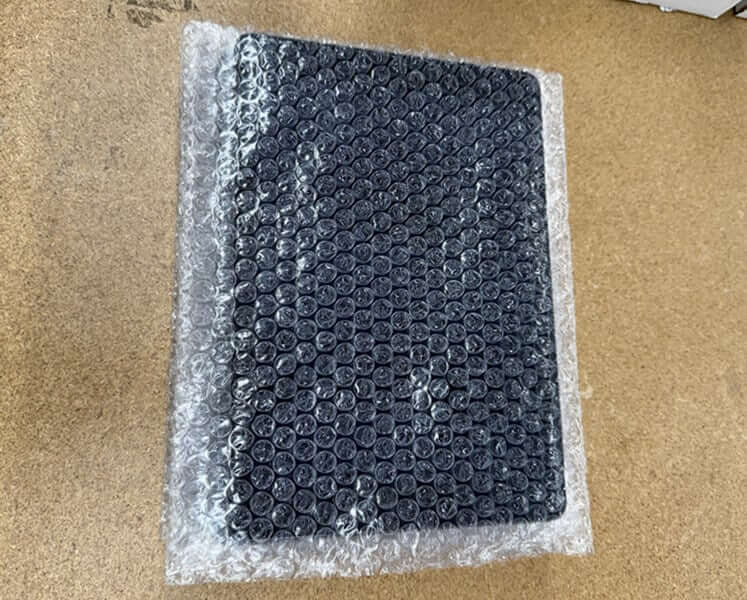
Sleeve and Stack the iPads
- Place each iPad in a foam or bubble sleeve.
- Stack the devices screen-to-screen to reduce screen pressure.
Secure the Stack and Place in Box
- Fold the extra bubble wrap from the bottom over and around the iPads.
- Add more bubble wrap around the sides and top so the iPads don’t move when you gently shake the box.
Add Final Layer and Close the Box
- Place your packing slip inside the box.
- Add a final layer of bubble wrap on top — not so much that it’s hard to close the box.
Seal and Label the Box
- Tape the box closed using the same H-pattern as the bottom.
- Avoid excessive taping on the edges to keep the box neat.
- Attach your shipping label, fragile sticker, and battery warning label to the outside of the box.
Macbook Shipping Guidelines
If possible, use your MacBook’s original packaging or a laptop shipping box. If that’s not available, follow the steps below to pack it safely.
If your devices are under AppleCare, please see additional instructions >>
Prepare the Box
- Assemble a sturdy, shipping box using an H-pattern with packing tape
- 3 strips across the center seam
- 1 strip along each edge
- Trim or neatly fold any excess tape for a clean, secure finish
Add Bottom Padding
- Lay two long pieces of bubble wrap across the bottom of the box.
- Add two small squares of bubble wrap on top for extra cushion.
Wrap the Macbook and Place in Box
- Wrap the MacBook itself in 2–3 layers of bubble wrap (secure with tape)
- Place it in the center of the box.

Add Cushioning and Final Layer
- Fill all sides, top, and bottom with padding (bubble wrap, foam, crumpled paper, or packing peanuts) so the device or Apple box does not shift. Nothing should move when gently shaked.
- Place your packing slip inside the box.
- Add a final layer of bubble wrap on top — not so much that it’s hard to close the box.
Seal and Label the Box
- Tape the box closed using the same H-pattern as the bottom.
- Avoid excessive taping on the edges to keep the box neat.
- Attach your shipping label, several fragile stickers, and battery warning labels to the outside of the box.
Mac Mini Shipping Guidelines
If possible, use your Mac Mini’s original packaging. If that’s not available, follow the
steps below to pack it safely.
Prepare the Box
- Assemble a sturdy, shipping box using an H-pattern with packing tape
- 3 strips across the center seam
- 1 strip along each edge
- Trim or neatly fold any excess tape for a clean, secure finish
Add Bottom Padding
- Lay two long pieces of bubble wrap across the bottom of the box. Add two small squares of bubble wrap on top for extra cushion.
Wrap the Mac Mini and Place in Box
- Wrap each Mac Mini itself in 2–3 layers of bubble wrap (secure with tape).
- If possible, include the power cable. This helps us with testing/troubleshooting.
Add Cushioning and Final Layer
- Fill all sides, top, and bottom with padding (bubble wrap,foam, crumpled paper, or packing peanuts) so the device does not shift. The device should not move when gently shaked.
- Place your packing slip inside the box.
- Add a final layer of bubble wrap on top — not so much that it’s hard to close the box.
Seal and Label the Box
- Tape the box closed using the same H-pattern as the bottom.
- Avoid excessive taping on the edges to keep the box neat.
- Attach your shipping label and several fragile stickers to the outside of the box.
Have Devices Under AppleCare? See These Additional Instructions
1. Back up your data
Repairs can sometimes involve a logic board or storage replacement. Back up important files first.
- Mac: Use Time Machine or copy files to iCloud or an external drive.
- iPad: Use iCloud Backup or connect to a computer to back up via Finder/iTunes.
2. Disable ‘Find My’
Apple requires Find My to be turned off before service.
- On iPad/iPhone: Go to Settings > [Your Name] > Find My > Find My iPad/iPhone and toggle it off.
- On Mac: Go to Apple Menu > System Settings > [your name] > iCloud > Find My Mac and turn it off.
You can re-enable it once the device is returned.
3. Provide Temporary Access
To complete repairs and testing, technicians will need to access your device.
- iPad: Turn off your passcode. Go to Settings > Face ID & Passcode (or Touch ID & Passcode) and tap Turn Passcode Off.
- Mac: Create a Guest User account for the technician to use, and log out of your own user account before sending it in.
4. Deauthorize purchases (Mac only)
If your Mac might require major hardware replacement, deauthorize it from Apple services to avoid authorization issues later.
- Open the Music app > Account > Authorizations > Deauthorize This Computer.
5. Disable FileVault (MacBook only)
If FileVault encryption is turned on, please disable it before service. A password-protected account may be required for diagnostic testing.
- Go to System Settings > Privacy & Security > FileVault and select Turn Off FileVault.
6. Remove accessories and extras
Detach any accessories before shipping.
- Remove cases, screen protectors, SIM cards, memory cards, or peripherals.
- Do not include chargers, keyboards, or cables unless specifically instructed to.